 This article will go over the topic of how to back up files and filegroups in SQL Server using either SSMS or T-SQL queries.
Continue reading in order to find out why and when you should backup files and filegroups.
Let’s say you are in a situation in which your database’s size and performance requirements have rendered making a FULL backup of your database less practical.
At this point, you still have options for doing your backup, but in the form of a file backup instead. A file backup will contain all of the data in one or more files (or filegroups).
Before we start to show you how to do this type of backup we want you to be aware of some limitations and restrictions.
Limitations / Restrictions
- The BACKUP command cannot be run in an explicit or implicit transaction.
- Using the simple recovery model, the files that are read/written must all be backed up together.
- This will help you be sure that the database can be correctly restored to a consistent point in time.
- Instead of specifying each read/write file or filegroup, you can use the READ_WRITE_FILEGROUPS option which will back up all of the read/write filegroups in the entire database.
- If you create a backup with the READ_WRITE_FILEGROUPS option, then that backup is known as a partial backup.
- The BACKUP DATABASE and BACKUP LOG permissions are the default for members of the sysadmin fixed server roles and for the db_owner and db_backupoperator roles.
Recommendations
Every backup operation will add an entry, by default, in the SQL Server error log and an entry in the event log.
If you will be backing up the log very often, these types of messages will accumulate very fast which will result in immense error logs, that will without a doubt make searching and finding other messages very difficult.
In such a case you can stop these types of log entries by using a trace flag, 3226 in case non of your backup scripts are dependent on those entries.
Back up files and filegroups with SSMS
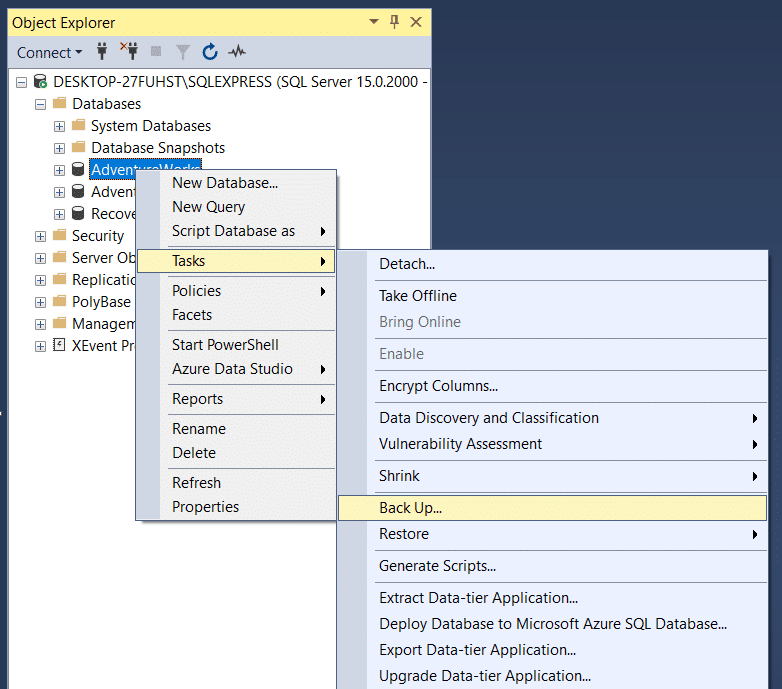
- Begin by connecting to the corresponding instance of SQL Server Database Engine and expanding the server tree in Object Explorer.
- Expand the Databases section and right-click the database (user or system database), go to Tasks, and then Back up….
- In the Back Up Database window that appears you can eventually select a different database that you might want to back up.
- In the Backup type section select one of FULL or DIFFERENTIAL options
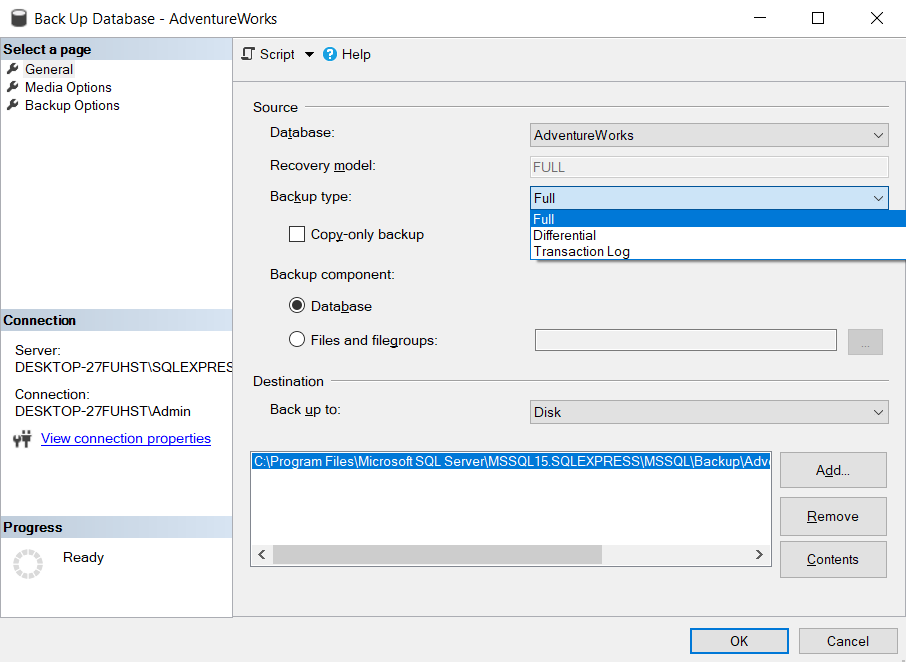
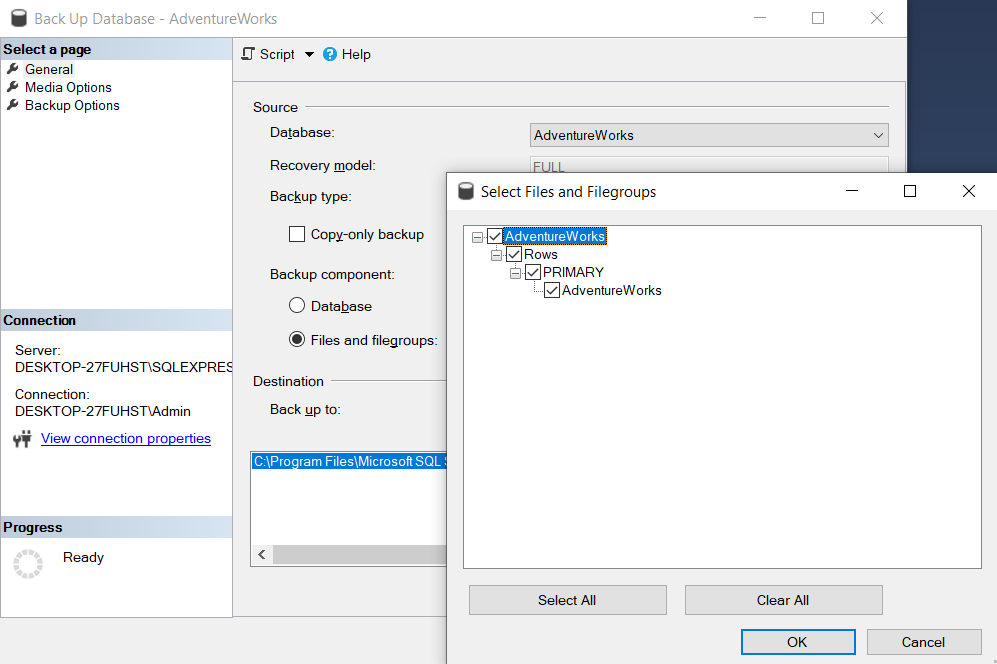
- In the next section, Backup Component select Files and Filegroups which will prompt the Select Files and Filegroups window. Here, in order to back up files and filegroups just check their corresponding boxes.
- Choose the type of destination where to create your backup, Disk or URL.
- Set the destination path for the backup by pressing Add and going to the folder where the backup will be created and specify the backup name.
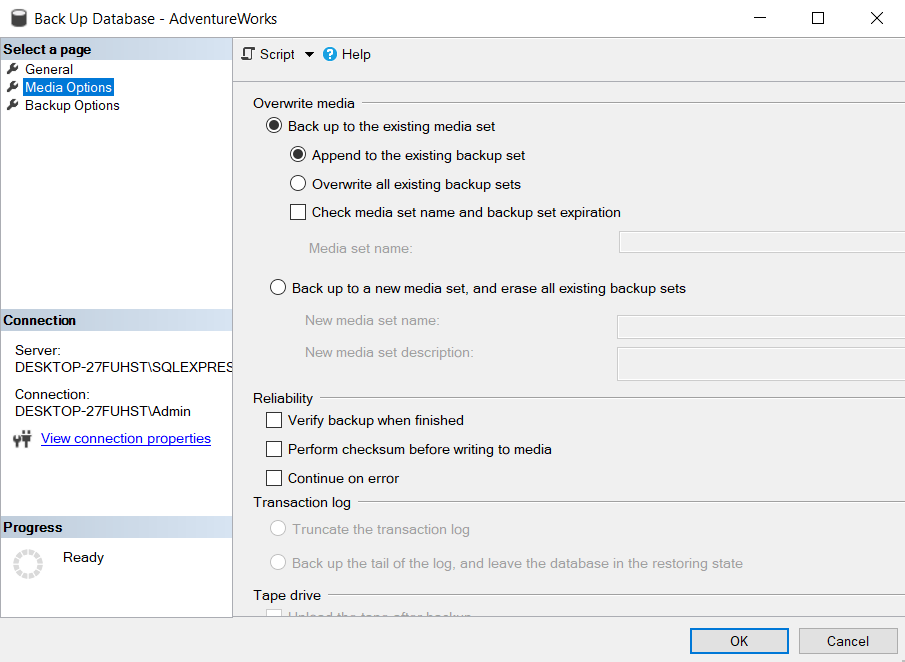
- For more advanced features, go to the Media Options tab on the top left side of the window.
- Go to the Overwrite Media section where you will have to select one of the following two options:
-
Back up to the existing media set – which has two suboptions:
- Append to the existing backup set – will append the new backup to this set
- Overwrite all existing backup sets – will overwrite all sets and just leave your last backup on it
- Optionally tick the Check media set name and backup set expiration option to force the backup operation to check the date when the set will expire.
- If no name is specified then a media set with a blank name is created.
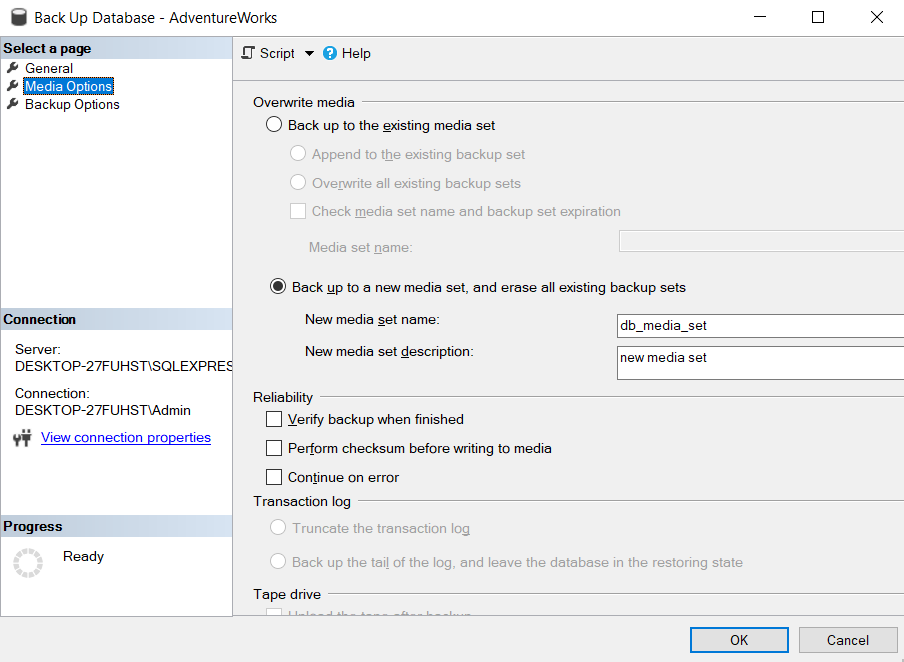
- In the Back up to a new media set, and erase all existing backup sets enter a name in the New media set name box and a description for the media set in the next text box.
-
Back up to the existing media set – which has two suboptions:
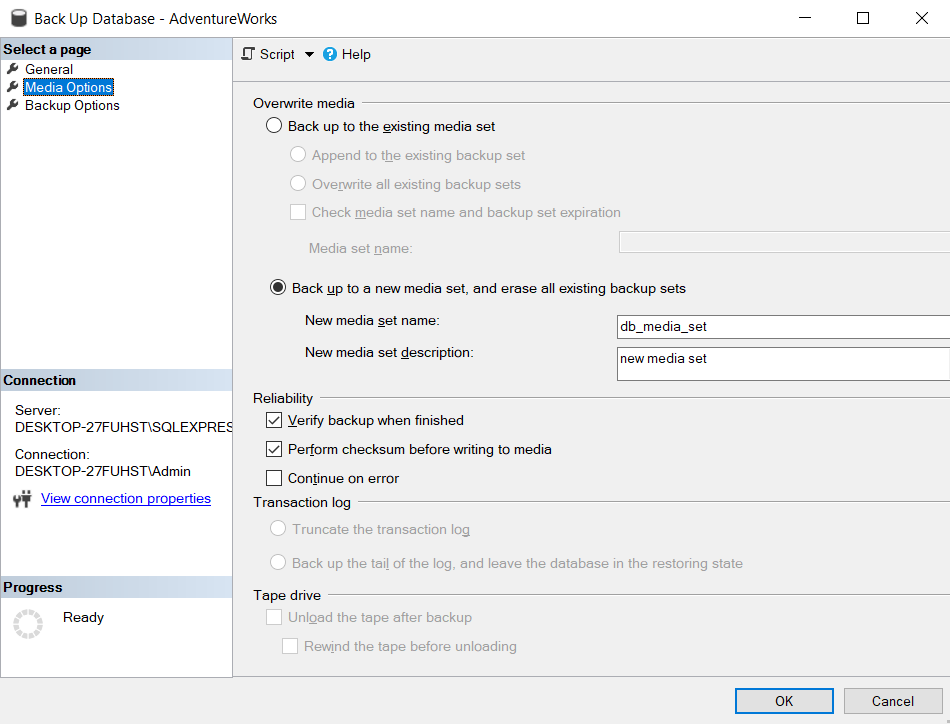
- Use the options under the Reliability section to verify the backup when it has finished and to perform a checksum operation before writing to the media. For SQL Server 2008 and later you will have the possibility to use compression methods to lower the size of your backup file. Choose from the dropdown list what option you would like.
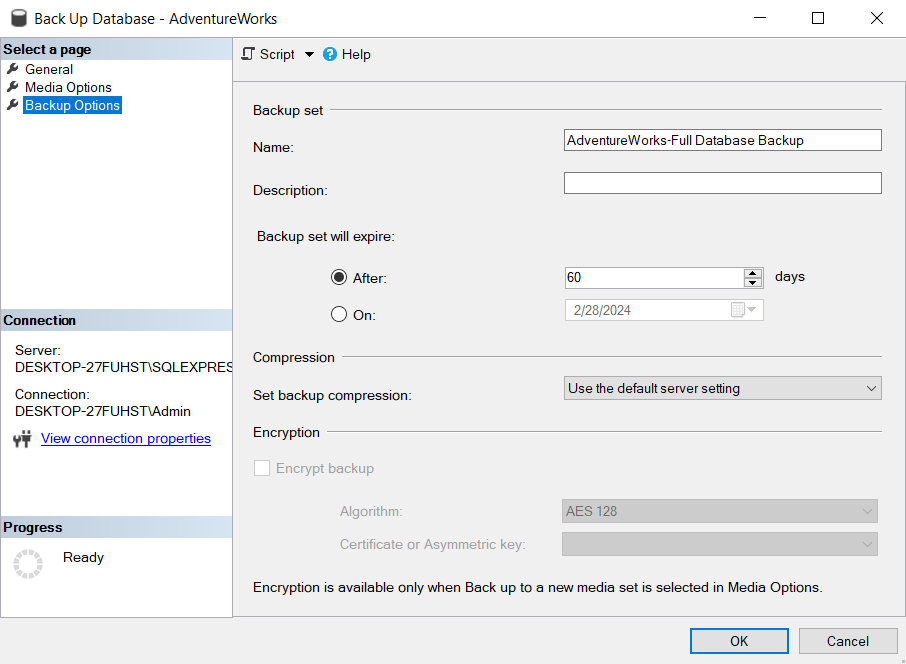
- At the Backup Options tab, you can change the name in the Name section or leave it as suggested if it is acceptable. Also, review the Description section if necessary. Additionally, a good practice would be to specify a date or a period when the backup will expire.
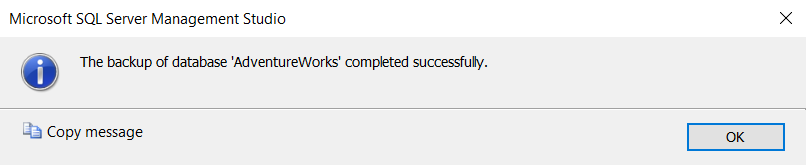
- After setting up all of the options you find necessary click OK, the operation which will create the backup file, and hopefully you will be prompted with a message similar to this.
Back up files and filegroups with T-SQL queries
If you prefer to write queries to do this operation then you have this possibility by using the BACKUP DATABASE command along with a few options specifying that you want to back up files or filegroups, as you will see below a few examples.
Assuming we have a database called TestDatabase which uses the full recovery model and contains the following secondary filegroups:
- A filegroup named TestDB1 has two files, TestDB_F1 and TestDB_F2
- A filegroup named TestDB2 has also two files, TESTDB_F3 and TestDB_F4
We will present a few query examples for different cases:
Creating a file backup of two files
BACKUP DATABASE TestDatabase
    FILE = 'TestDB_F1',
    FILE = 'TestDB_F2'
TO DISK = 'Z:\SQL_Server_Backups\TestDatabase\TesTDBFiles.bak';
Creating a full file backup of secondary filegroups
BACKUP DATABASE TestDatabase
    FILEGROUP = 'TestDB1',
    FILEGROUP = 'TestDB2'
TO DISK = 'Z:\SQL_Server_Backups\TestDatabase\TestDBFileGroup.bak';
Creating a differential file backup of secondary filegroups
BACKUP DATABASE TestDatabase
    FILEGROUP = 'TestDB1',
    FILEGROUP = 'TestDB2',
TO DISK = 'Z:\SQL_Server_Backups\TestDatabase\TestDBFileGroupDifferential.bak'
WITH
    DIFFERENTIAL;